Saturday, 31 October 2015

Christmas Trees Pop Stand Exploding Box Card Tutorial

Hello! I have this tutorial on the Elizabeth Craft Designs blog today, for a card idea I've wanted to try for a while - an exploding box card with a Pop Stand feature in the middle. I decided to use Karen Burniston's lovely new Christmas Trees Pop Stand, which has a beautiful floating centre.
Helen Cryer - 1

Directions for making the card:

1. Score a 12'' x 12'' double-sided piece of card stock into 4'' squares as shown below.
Helen Cryer - 2

It's been my first chance to use my new Martha Stewart Score Board, which I found lovely and easy to use!

2. Cut away the four corner squares. Fold under the two outer side squares (so that the card base can fit through a die cutting machine). Die cut the small pop stand tabs into the middle of the centre square. (This will also die cut the two folded-under side squares, but these die cuts will get covered up later.) Open out the card base again, so that it looks as below.
Helen Cryer - 3

3. Using more double-sided card stock, die cut pieces to make the larger 3D tree from the Christmas Trees Pop Stand set, following Karen's directions in this video. Attach the tree to the die cut Pop Stand tabs, as shown below.
Helen Cryer - 4

4. Cut four 3'' x 3'' squares from patterned paper, and die cut four contrasting coloured trees, using the die from the Christmas Trees Pop Stand set as shown, plus 6 silver glitter card stock stars.
Helen Cryer - 5

5. Use the pieces shown in step 4 to decorate the four internal sides of the exploding card, as shown below. Adhere the trees with foam pads, and glue some silver tinsel to the trees. Adhere the stars, including two back-to-back at the top of the 3D tree. Glue a small amount of tinsel to either side of the 3D tree's stars.
Heen Cryer - 6

6. Use a stamp from the Merry and Bright Clear Stamp set on cream card. Layer it onto red patterned paper. Cut two banner ends from silver glitter card stock, and stick everything to the card base as shown below.
Helen Cryer - 7

7. To make the lid, cut a 6'' x 6'' square, and score it 7/8'' in from all four sides. Snip one side of each of the four little corner squares, to make tabs. Glue these tabs behind the long rectangles, to made the sides of the lid.
Helen Cryer - 8

8. Cut two 3'' x 3'' squares and adhere one to the bottom of the box (to cover over the pop stand holes), and the other to the lid. Cut another tree and star, and add to the lid, along with some more tinsel.Helen Cryer - 9

9. Finally, cut four 2'' x 3'' rectangles of patterned paper, and adhere them to the box sides. Die cut an assortment of silver glitter card stock stars (from the All Seasons Tree die set and the Spiral Circle Pull Card die set), and use them to decorate the box sides.Helen Cryer - 10

The lid holds the sides of the box in place, and when the lid is removed, the sides fall open to reveal the trees inside. I hope you've enjoyed this tutorial, and perhaps come up with some other versions of exploding box Pop Stand cards!

The Christmas Trees Pop Stand die set is one of the new die sets and stamp set from Karen Burniston's 'Merry & Bright' Collection... so much fun!

Product Links:


Friday, 30 October 2015

Purple Onion Design Stamps Halloween Card

I'm not much of a one for celebrating Halloween, but I do like this stamp set by Purple Onion Designs!
I had fun making the background, by dabbing ink onto a large stamping block, and printing that onto white card stock. I sprayed it with water, sprinkled it with a bit of rock salt, and let it dry before stamping the black images.
I used Stephanie Barnard inks, which are incrediby vibrant and juicy!
I backed it with the Tim Holtz cobweb die.

Product links:


Tuesday, 27 October 2015

Purple Onion Designs - New Stacey Yacula Stamps Sizzix Flip-its Christmas Card

I have a Sizzix Flip-its card today, using another of the gorgeous stamps from Stacey Yacula's new collection at Purple Onion Designs. (There is a limited time special set price of $100, till the 4th of November!)

I used the 'Maple' stamp, which I cut out and layered with foam pads. I coloured Maple with Copics, and added spots to the scarf with Signo Uniball White pen.

Product Links:


Monday, 26 October 2015

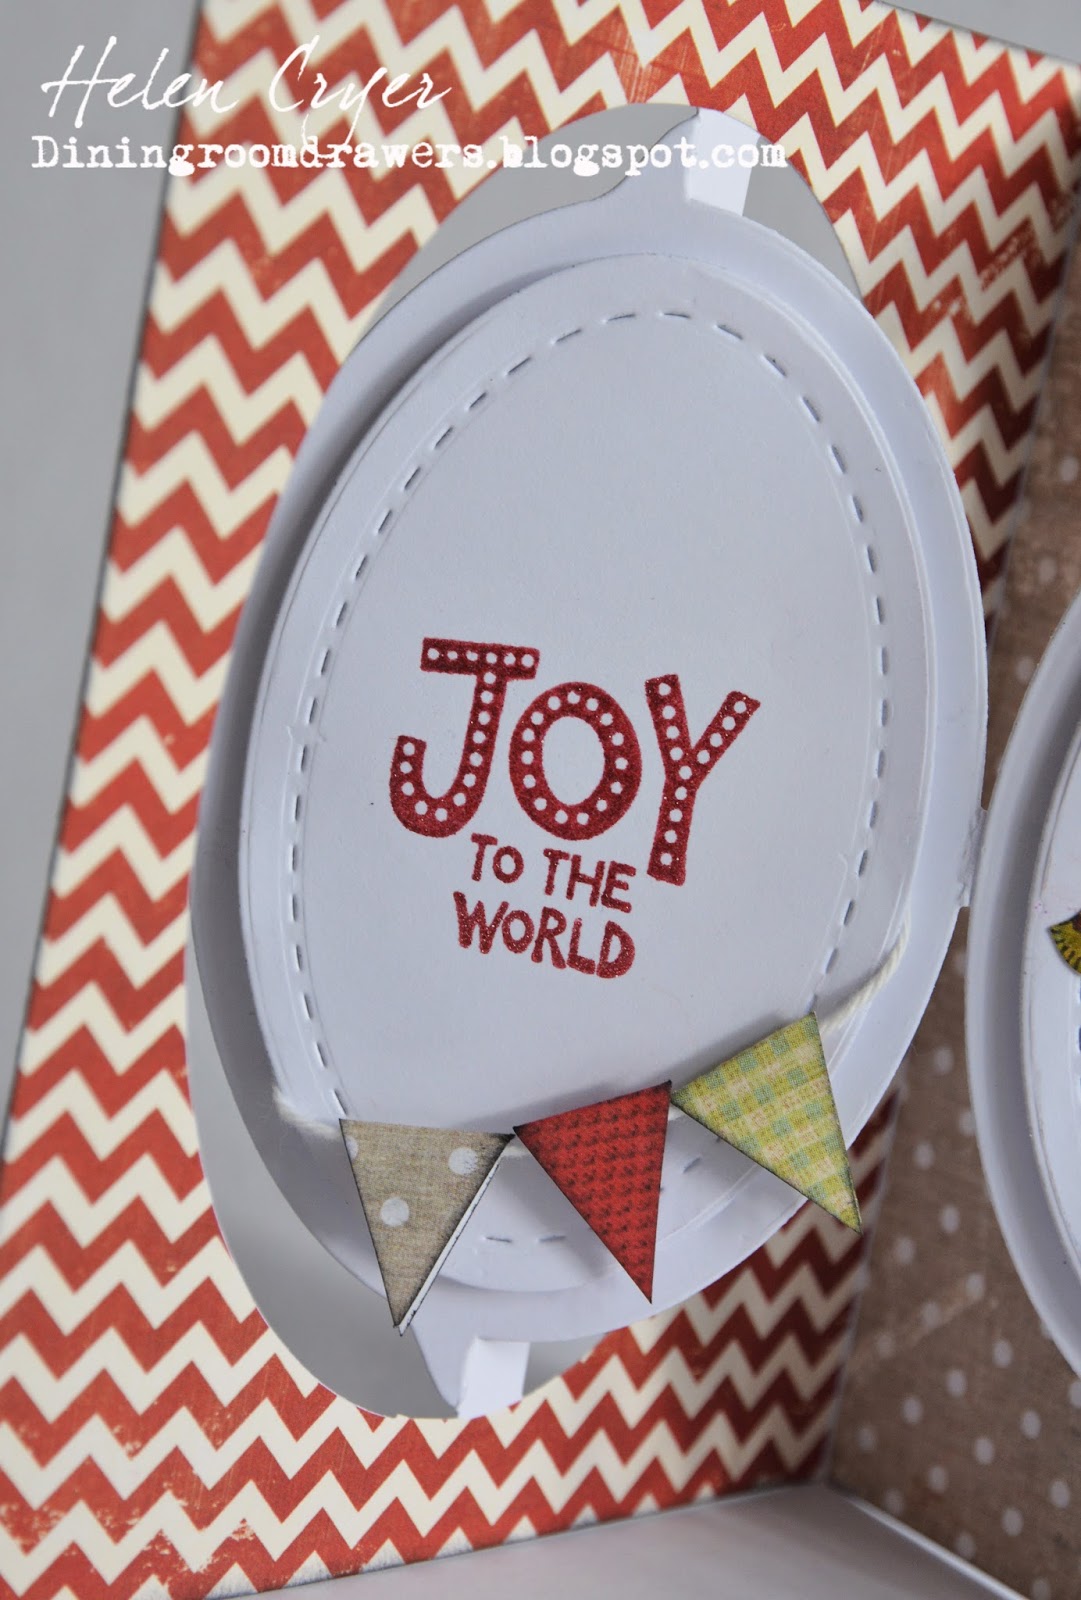
Purple Onion Design's New 'Snowflake Grove' Christmas Pop it Ups Accordion Card

Hiya! I am back today with a Pop it Ups Accordion Oval card, featuring new stamps by Stacey Yacula for Purple Onion Designs. 

A beautiful new Stacey Yacula collection is being released today, called 'Snowflake Grove'!
It consists of 30 gorgeous new stamps, and there is a limited time special set price of $100, till the 4th of November.

I used another new stamp from Purple Onion Designs, for the sentiment, from a set called Holiday Marquee Sentiments.
I added some bunting flags, which I inked along the edges, and I also added ink out the outer edges of the card.

The Stacey Yacula stamps I used on the card are Oakley the bear, and the Decorated Tree.
I coloured them with Copics, and added some Stickles.
I cut some holly leaves with a punch for the bottom corner.

Other products used:


Tuesday, 13 October 2015

Karen Burniston's October Designer Challenge - Wonder Woman (Chick) Card

It's time for Karen Burniston's monthly Designer Challenge and this time we have a 'Characters in Costume' challenge!! I thought what better costume than a Wonder Woman costume, and on such a classy chick as Cheepers?!
Also - there is a sale on all Karen's Characters and Props dies at the moment!!

I used the Lorna Label die set on some red gingham card, for the card base.

 I added some card layers to the pop-out part, including a giant yellow star as a background for Cheepers (sorry - Wonder Chick!)
I die cut some extra body layers, and cut them down to make the different parts of the outfit. I cut out a tiara, and added a star from the Star Fancy Frame Edges die set.
I used the small cloud from the All Seasons Tree set, to make some blue hair which I coloured curls onto, and added some red Glitter Dots for earrings!

I printed off a Wonder Woman title, and modified it using letters from the Alphabet - Caps 1 set! I inked the edges of the white card stock with black Distress Ink.
Finally I added some cardstock strips for borders and rounded the edges.

Product Links:


Monday, 5 October 2015

Thinking of You Circle Pull Card, with homemade Embossing Paste, and some new stash...

I attended the funeral of my friend's mother last week, and made this card for my friend.
It was a lovely day - sad of course, but simple and genuine and sweet.

For the card, I used the Circle Pull Card on some plain white cardstock, and made my own embossing paste (here is my previous tutorial for this - it's really easy), which I used with Tim Holtz's Flourish Stencil.
For the centre circle, I used gold heat embossing powder, with VersaMark ink and a Stampin' Up stamp.

I used Copic pen in the Copic Airbrush, to spray pink around the edges of the card. I backed the card with gold cardstock, which you can just see at the edges of the card.

Finally, I added some flowers from a gorgeous set by Crate Paper, called Open Book Floral Ephemera.

I spent most of August in France - away from my craft supplies, so to get my 'craft fix' I bought some new stash online instead. It was like Christmas when I got back from France! Here are a few of the new things, mainly by Maggie Holmes for Crate Paper, including the Flora Ephemera I used on the card.

And a few Tim Holtz items... (including the stencil I used on the card)

I decided to use a few more stencils while I had the embossing paste out, which I'll use on future cards. My 9 year old really enjoyed watching me make these - so satisfying to lift up the stencil and see the crisp, clear patterns!

I added Microfine Glitter to this page whilst the embossing paste was still wet. It adhered really well, and looks incredibly sparkly in real life!

Product Links:


Wednesday, 30 September 2015

Elizabeth Craft Designs Blog Tutorial - Rudy Christmas Pull Card

Hello! I have the following card tutorial on the Elizabeth Craft Design Blog today, using the Pop it Ups Rectangle Pull Card, featuring Rudy the Reindeer. I enjoy cutting Karen Burniston’s Character dies from patterned papers, to change things up a bit!
Helen Cryer - 1
Directions for making the card:
1. Cut some double-sided heavy weight patterned paper to 20cm x 13.5cm (8″ x 5.5″). Fold in half, line up the Rectangle Pull Card die over the fold, and die cut. Use dies from the Rectangle Pull Card and Rectangle Accordion die sets to cut a silver glitter cardstock rectangle and smaller patterned paper rectangle. Cut all the pieces of Rudy the Reindeer, including nose, antlers and hooves from Red and Beige Velvet Adhesive. Cut eight snowflakes from silver glitter cardstock (using dies from the Sleigh Gift Card Holder and Spiral Circle Pull Card sets), and a black ‘Merry Christmas’ from the Merry Christmas Pop Up set. Finally, cut the spinner from the Rectangle Pull Card.
Helen Cryer - 2
The Rudy the Reindeer die set which I used:
DSC_0226
2. Adhere the glitter card stock and patterned paper rectangles to the front of the folded card base. Assemble Rudy the Reindeer as shown below, and stick him on the card front with adhesive foam pads for some extra dimension.
Helen Cryer - 4
3. Adhere the Rectangle Pull Card spinner in the position shown below, and glue on all the snowflakes also as shown below. Snip the ‘as’ from the ‘Christmas’ die cut, and glue on all the word parts as shown.
Helen Cryer - 5
And you are done! An easy Christmas card, with a little bit of shimmery snow fall when you open the card!
Product Links:


Monday, 28 September 2015

Leafy Happy Birthday Pop it Ups Card

 A quick birthday card for a friend (also named Helen!) using the Happy Birthday PopUp die set. Sorry about the terribly gloomy photography!
I used the Scallop On the Edge die to edge the inner card layer, and decorated the card with leaves cut with Paper Smooches' Foliage 1 die set, and a Martha Stewart punch.

I also added a heart and leaf die from the Sizzix 'Phrase, Thank You with Hearts' set.
The chevron ribbon across the bottom of the card is by Stampin' Up.

Product Links:


Sunday, 27 September 2015

'Cards That Wow' Sizzix Book... I'm in print!

 I got a copy in the post this week of Sizzix's latest book 'Cards that Wow', put together by Stephanie Barnard. Stephanie asked me last year if I'd like to make some cards for it, which I did, and voila... I am in print!! It's my first time, and I'm quite pleased about it!

I remember seeing my very first Sizzix machine (the old red one) on Ebay in 2006, and wondering what it was... little did I know then that I would fall in love with Sizzix and die cutting, and that it would be the start of a whole new lovely hobby! Neither did I ever think back then that I'd get to be in a Sizzix book! Fun!

 I have 34 pages of my cards in it!  (Yes - I counted!)
Here is one of mine...
 I like the backgrounds that were designed to display the cards.
The book has a few pages explaining how to use Sizzix machines etc, and a few more pages showing how to make each of the basic cards with Stephanie's dies (Flip-its, Stand-Ups, Step-Ups), but it is mainly full of nice big glossy pictures of over 100 card ideas, featuring Stephanie's dies.

My name in print! And also the names of some lovely ladies I have come to know via the internet from Design Teams etc.

Saturday, 26 September 2015

Pop It Ups Merry Christmas and Jolly the Mouse Card Tutorial

Hi everyone!  I am sharing this tutorial today, on the Elizabeth Craft Designs blog, for a nice and simple Christmas card, featuring Karen Burniston’s beautiful new Merry Christmas Pop Up die set, and Jolly the Mouse. If you like making all your own Christmas cards, September is not a bad time to start!
Helen Cryer - 1
Here’s what I did:
1.  Cut a red piece of cardstock to 14.2cm x 20.2cm, (5.5″ x 8″) and a turquoise piece of patterned paper to 14cm x 20cm. (5.25″ x 7.75″) Fold both in half, and die cut the turquoise piece with the Merry Christmas Pop Up die. Cut 2 strips of red polka dot patterned paper to 3cm x 14cm, and 2cm x 14.2cm. Cut some red Shimmer Sheetz to 2.5cm x 14.2cm. Die cut all the pieces for a Jolly the Mouse, as shown below (though missing from the photo are his glittery tail, and candy cane). Also die cut a Father Christmas hat for Jolly, using dies from the Props 5. Die cut ‘Merry Christmas’ words and the two little swirls from red Shimmer Sheetz. Die cut the four little hearts, and the large swirl from silver glitter card. Use stamps from the Merry and Bright stamp set, as per below.
Helen Cryer - 2
Here are Karen Burniston’s Pop It Up products which I used (Links are at the bottom of this post):
Helen Cryer - 3
2.  Fold the Merry Christmas pop-up according to the package instructions (or watch Karen’s assembly video) and adhere the turquoise patterned paper inside the red cardstock. Adhere the red words and swirls, and silver glitter pieces. Adhere the folded ‘Happy New Year’ banner with foam pads. Adhere the 3cm x 14cm red polka dot patterned paper to the foot of the card as shown below. Assemble Jolly the Mouse, and his candy cane as shown below, and adhere to the card. Assemble the Father Christmas hat, and also adhere to the card.
Helen Cryer - 4
3.  For the outside of the card, stick on the remaining red polka dot patterned paper, and red Shimmer Sheetz strip, then adhere the two stamped pieces as shown below. Adhere a red gingham bow near the sentiment.
Helen Cryer - 5
And you are done! I hope you enjoyed my card today, and feel inspired to have a go at making a Christmas card too!
Helen Cryer - 6Product Links:


Friday, 25 September 2015

Sizzix Craft Asylum Dies Card In A Box

This is a card I sent to Scott's Aunt a while back, using Sizzix's Card in a Box die (love it!) decorated with some Sizzix Craft Asylum dies.

I added the butterfly, 'Hello' and hearts on clear acetate strips, which I used my ATG glue runner to adhere to the partitions.

The Hello die is by Mama Elephant, and the papers are from Crate Paper 'Pretty Party' 6x6 pad.
I used small square adhesive foam pads to raise some of the die cut elements.

Product Links: