Tuesday 30 December 2014

Karen Burniston Pop It Ups Circle Accordion Character Birthday Card with Copic Airbrushing

Some cards are just plain fun to make and I grin to myself whilst assembling them... this was one of those! I used various of Karen Burniston's Character dies from Elizabeth Craft Designs, plus her Accordion Circle die for the card base.

I cut the panels in white card stock, then die cut the shadow of each character out of self-adhesive masking paper, and put one on each panel. I then used my Copic airbrush to colour round the shapes. (I used up the air can that came in my starter kit pretty quickly, and loved airbrushing so much that I bought a little air compressor, so now I can spray to my heart's content.)
Then it was just a case of peeling off the film, and adding the inner shapes for each character, which I did on adhesive foam pads.

I then cut more panels out of patterned papers, and snipped out the inner parts to make frames for each panel. 
I mainly used papers from the wonderful 'Boys Rule' 6x6 pad from Crate Paper.
I also added Happy Birthday from Karen's Happy Birthday PopUp die set, and party hats from her Props 2 die set.


I glued some strips of mount board to the back of the two inner panels, and strung up twine, for some bunting. The cute little stars are also from the Happy Birthday PopUp die set.

I slightly staggered the two mount board strips, so that when the card is closed, they lie side by side, rather than directly on top of each other, so that the card folds down more flat.

Some of the products used:


Monday 29 December 2014

Lots of Sizzix Cards!

 Hello! Well we've just had a wonderful Christmas away with my Mum, Dad and all my siblings and their families (23 of us now)! I love this time between Christmas and New Year, where we're all cosy at home, and I begin to think about my New Year Resolutions and how I'd like to make changes for the coming year - I find it an exciting and inspiring time!
Anyway, I was just sorting through my photo files, and tidying them up a bit, and I realised I have quite a few pictures of photos that never made it to my blog, so here they all are.
They all use Sizzix products by Stephanie Barnard, and I'll put links at the bottom of the post to most the products used.

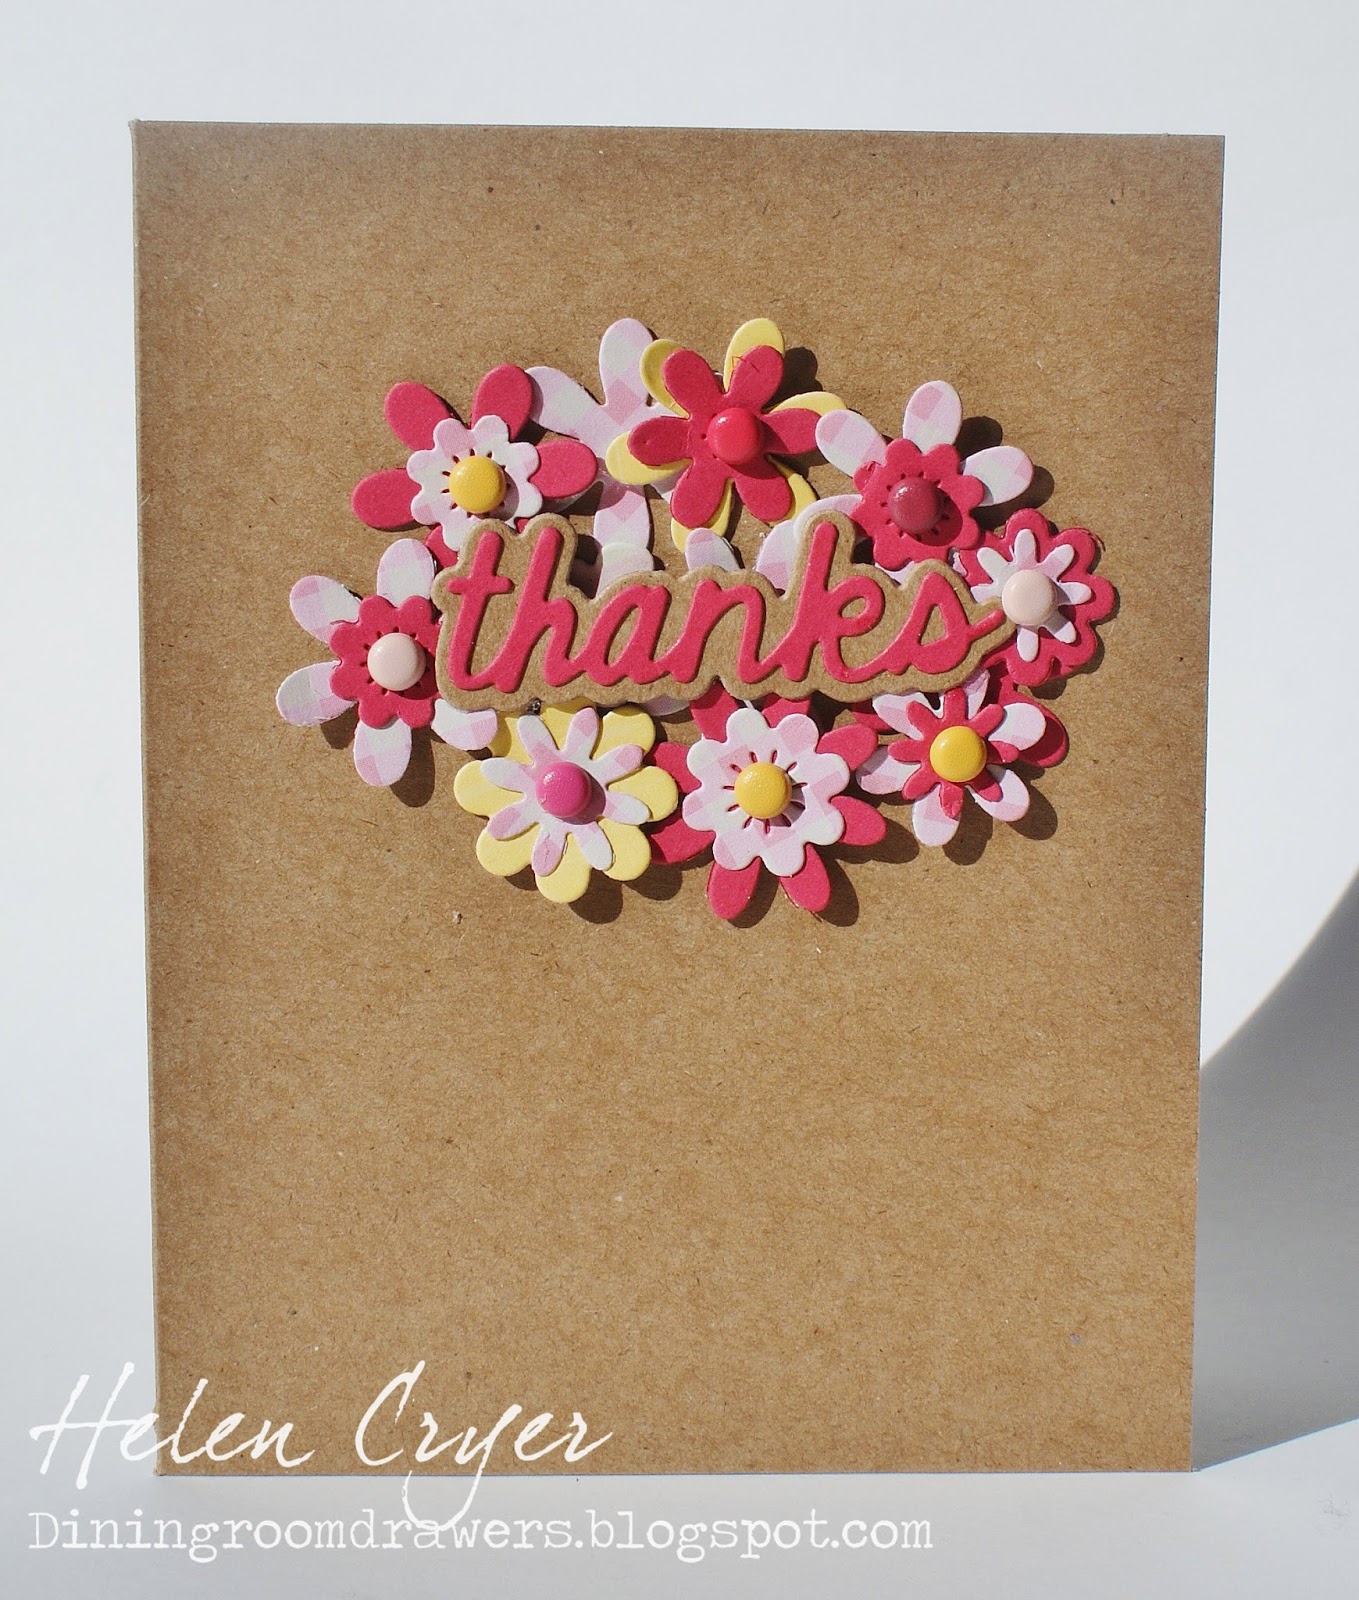
'Thank's from the Elegant Stand Ups set, and flowers from The Stamps of Life

Elegant Flip-its die


Square Stand-ups die, and smaller square dies from Square Flip-its #2

Fancy Frame Flip-its #2, and Sizzix Clear Stamps - Thanks


Square Flip-its #2, and Sizzix Triplits Christmas Trees

Elegant Stand-Ups, and Sizzix Triplits Ornaments


Elegant Flip-its, and Sizzix Framelits w/Stamps - Ice Cream


Elegant Flip-its, and Sizzix Framelits w/Stamps - Flowers & Tags

Regal Stand-Ups


Elegant Stand-Ups

Elegant Flip-its


Sizzix Framelits w/Stamps - Flowers & Tags

Regal Stand-Ups

Elegant Flip-its


Links to some of the products used:


Tuesday 16 December 2014

Designer Challenge Pop It Ups Oval Accordion Mothers Day Card

An odd time of year for a Mothers' Day card perhaps, but this month's Karen Burniston Designer Challenge, is to have a Pop It Ups card for every month of the year! If you check out the Elizabeth Craft Design Blog tomorrow, you'll see loads of great card inspiration for a whole year of celebrations!

So I made this Mothers' Day card, using the Accordion Oval Card die set, and the Oval Dots Frame Edges set (used for the turquoise spotty border on the last panel.)


I added some chipboard shapes from American Crafts' Front Porch' Collection, and a little wooden bird from Studio Calico, plus some bunting flags cut by hand.
The papers are all from Kaisercrafts 'Sweet Pea' 12x12 set, and the words are chipboard stickers.


Some of the products used:


Thursday 11 December 2014

Sizzix Circle Flip-its & Stampin' Up Wondrous Wreath Christmas Card

I love the Wondrous Wreath stamp and die set from Stampin' Up which includes the Noel die, and so I made up a wreath (using Elizabeth Craft Designs glitter dots for the berries, and paper-backed satin for the bow), and it just fit perfectly onto Sizzix's Circle #4 Flips-its card.


Papers are from October Afternoon, the swirls die is from My Favorite Things, and the snowflakes are by Marianne Designs.

Links to some of the products used:


Wednesday 10 December 2014

Pop It Ups Lorna Label & Little B Birthday Card

 I never seem to have enough birthday cards on hand, so just made this one for fun.
I used some October Afternoon paper for the background card (cut with the Pop 'n Cuts base card die), and used the Lorna Label die from Elizabeth Craft Designs for the pop out part.

 I used a new die set from Little B, for the Happy Birthday die cuts, which I put glittered card behind, and added a stitched label (from the Lorna Label set), and a sticker from Simple Stories' 'Homespun' sticker sheet.
I stuck the sticker onto some acetate, so that it could stand out a bit on foam pads.

I also added various other strips of card, using washi tape, and scalloped edges cut with a Stampin' Up punch, and Tim Holtz On the Edge die.

Some of the products used:


Sunday 7 December 2014

Purple Onion Design Christmas Tree Sizzix Gift Tags, with Copic Airbrush

I have been having more fun experimenting with my new Copic Airbrush set, and I made these gift tags, cutting them out with a new set from Sizzix, stamping them, then adding some raised areas of stamping on foam pads, along with a little Stickles glitter glue.
I then airbrushed round the edges in green, added a little black ink with a Tim Holtz inking tool, and added some ribbon and twine etc.


All the stamps are from Purple Onion Designs, who currently have a brilliant sale on, with 25% off ALL STAMPS till 10th December.


Some of the products used:


Sunday 30 November 2014

Sizzix Triple Circle Flip-its and Purple Onion Design Christmas Card

I loved making this card - really simple and fun! I used the Triple Circle Flip-its card from Sizzix for the card base, and to cut the patterned paper layers, then I used the slot dies from the Lucy Label Pop Up Card set, to make little slots to thread the ribbon through.
I coloured my stamped images with Copics, cut them out with Cutter Bee scissors, and stuck them down with foam pads. I added a few details with White Signo Uniball pen.
Finally I added a tag from Sizzix's new Framelits Tags and stamp set.


All the stamps are from Purple Onion Designs, who currently have a brilliant sale on, with 25% off ALL STAMPS till 10th December. They also have a selection of stamps with even more off, in the Black Friday-Cyber Monday Sale!!


Some of the products used:


Saturday 29 November 2014

Purple Onion Designs' Stacey Yacula Stamps & Copic Airbrush - Snowy Winter Night Christmas Card

A short while ago I treated myself to a new toy - the Copic Airbrush system (Set 1), and some masking film (I'll do a post at some point with more details about the airbrushing set and techniques), and this is my first card using it.
I stamped the background scene first, then masked it out, and airbrushed the sky. After peeling off the masking, I added some colour to the house, snow and trees with Copics, and then added the snow, using a Frantage set (I sprinkled chunks of embossing powder on, then heated them from underneath, so they didn't get blown off.)
I then added some glitter to wet glue, and added a hand-cut bunny on foam pads.
The sentiment is on a Tim Holtz banner.

All the stamps are from Purple Onion Designs, who currently have a brilliant sale on, with 25% off ALL STAMPS till 10th December. They also have a selection of stamps with even more off, in the Black Friday-Cyber Monday Sale!!


Here's a close-up showing some of the different textures in the card, a bit better.
I'm pretty excited to have a go at some more airbrushing anyway!

Some of the products used:


Saturday 15 November 2014

Purple Onion Design Stacey Yacula Stamps & Pop It Ups Skating Christmas Card

Here's a card I made using some more of Stacey Yacula's beautiful new stamps for Purple Onion Designs. I wanted to create a 3D ice skating pond scene, with some of the characters, and the Pop It Ups 'Lots of Pops' die.

I cut out the blue card base with the Sizzix Pop n' Cuts Card with Ornate Edges die, then added the background pond scenery by stamping the Pond stamp a few times onto patterned paper, and cutting out the parts I wanted.
I added Stickles to some areas.
I stamped the sky with A Dusting of Snow stamp, and added some details to the snowflakes with Liquid Pearls.
The character stamps were coloured with Copics and cut out with Cutter Bee Scissors.

I also added a border from the Merriness stamps set, along with some red glitter dots, white Uniball Signo pen, Liquid Pearls and Copics, and added a sentiment I wrote with a dip calligraphy pen and ink.


Some of the products used:


Tuesday 11 November 2014

Karen Burniston's November All-White Challange Pop It Ups Christmas Card

 Today I have another card for Karen Burniston's November Designer Challenge - to use only one colour on a card (either red, blue or white). She has so many beautiful dies which can be used for Christmas themed cards, I had to have a go at doing an all-white snow scene Christmas card.

I used the Evergreen Pivot Card die to create the central pop out part of the card, and all of the tree layers. After die cutting the pivot, I ran the card three times through my Big Shot in Karen's new Clouds embossing folder ( - this is a gorgeous new embossing folder, if you haven't seen it yet!)
I then used the pivot die again on some separate card, and snipped out just the central tree part, and stuck it over the embossed trees on my card, because I wanted them flat.

Next I added some layers to the card using the little trees die and wavy die from the Outdoor Edges die set. The lower layers I stuck on with foam pads.
I then stuck on various trees, some of which I embossed with the patterns in the actual tree die cutters, and some with the Lots of Dots embossing folder from Elizabeth Craft Designs.
I made one of the trees into a Christmas tree, with the ornaments die from the Evergreen Pivot Card set, and the string of lights from the Holiday House set.
The little wooden sign I cut out by hand, and wrote the sentiment on.

On the other side of the card I added the Holiday House, along with a hand cut path, and glued on some oval gems to each light. Then I stuck on some layered snowflakes with foam pads, adding adhesive gems. For the tiny sections of the card which I stuck on with foam pads, I just cut the little square foam pads in half.

The clouds embossing folder also worked fine on the card front, so I just added a few snowflakes and some trim. The pearls and diamonds are on a natural coloured fabric, so I covered that with embossed card stock.
Donna Wright (who is also on Karen's Designer Challenge Team) and I were out shopping a couple of weeks ago in a haberdashery department, and we saw this trim. She wasn't very keen on it, but I was determined to use it on a snowy card like this one... it should make Donna laugh to see it!

Some of the products used: