I saw somewhere (probably on Pinterest) the technique of colouring in stamped images with Copic pens, where the image is stamped with pale ink, for a more natural look.
I thought I'd give it a go - here are a couple of the outcomes:

I used Memento Tuxedo Black ink (as most Copic stampers recommend) for the right-hand images, but didn't have Memento ink in a paler colour, so used VersaMagic Multi-surface Chalk Ink in Pixie Dust (pale pink) for the left-hand images. I let it dry for a while, and it worked fine.

I think the cupcake needed a bit more contrast to the edges of the different parts, but quite liked how the girl turned out. You can see a little of the light pink ink, but mainly it just fades away.

While I had all my Copics out, I thought I'd show you my unique Copic storage 'system'!! I bought my Copic pens not long before Christmas, but one of my new year resolutions is to spend no money (except on groceries) till May (my birthday). This meant I wouldn't be buying any nifty Copic storage though!
I like to have my pens arranged in the colour sets, so decided to temporarily store them flat in some chocolate boxes which were left over after Christmas. This actually works really well! It's easy to take them where ever I want to use them (in the living room for when I'm 'watching' a film for example), and the pens are instantly in the order I want them, plus because I have mainly Ciao pens, the numbers on the sides of the pen are easily seen. When I've finished, the boxes just stack neatly away. I like it this way so much, that I may not even buy any new storage units for them when I am free to spend again!

(I'm sure half the reason people buy Copics is just because they look so good...)

My two youngest boys each decorated one of the chocolate boxes, using Copics and washi tape, plus I keep a colour chart of the pens I have, on the other. I find the chart very handy for just glancing at to see what colour group I am after.


Here are the boxes packed away.

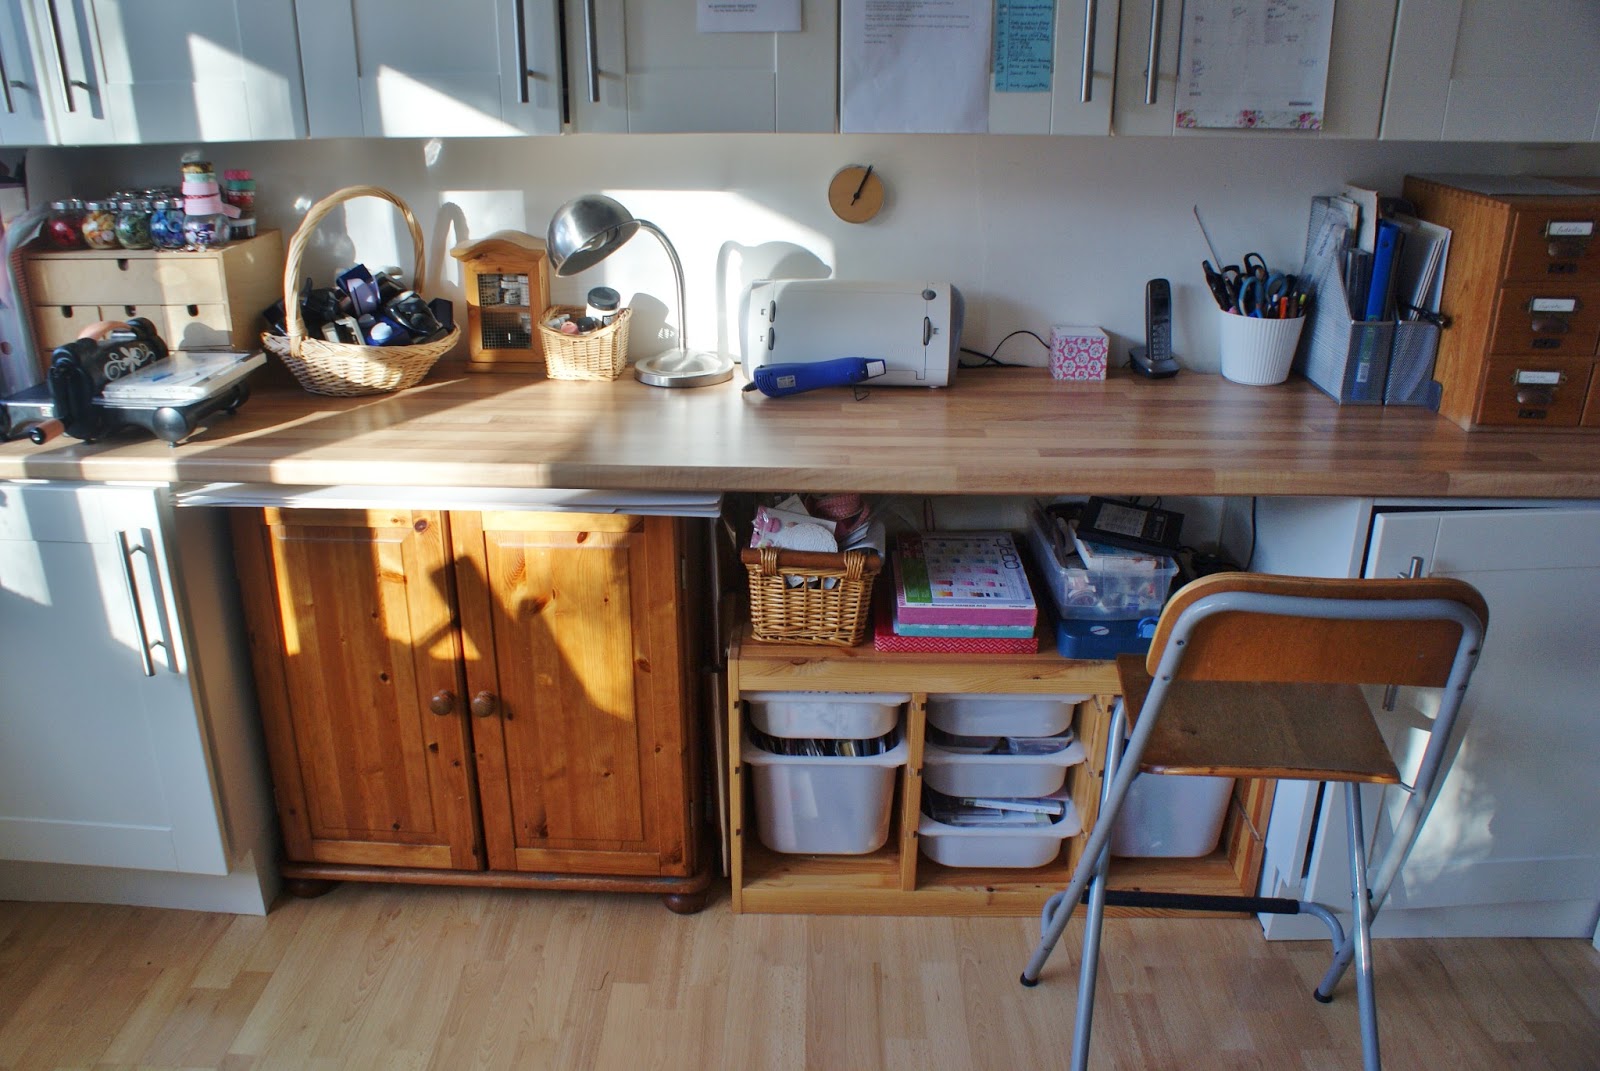
I thought while I was photographing some of my storage, I'd show you the rest too, especially as it's looking reasonably tidy for once.
This is at one end of our dining room (hence the name of the blog... it should really be called 'The Dining Room Cupboards', but it doesn't have quite the same ring, plus there are a few drawers involved!)
I keep meaning to make some curtains (maybe patchwork?!) to hide my messy storage underneath the work surface, but haven't got round to it yet.
I keep meaning to make some curtains (maybe patchwork?!) to hide my messy storage underneath the work surface, but haven't got round to it yet.
One of the cupboards, which houses my large Sizzix dies, plus some other bits. I had a load of magnetic tape from years back, and this holds my wafer thin dies well.

Another cupboard, with some of my paper pads, plus card blanks, Cricut cartridges and embossing folders. (And rainbow organised buttons underneath!)
I don't have tonnes of Cricut stuff. It always seems too much hassle to get it underway - my first love is Sizzix, in particular the Original and BigZ dies - instant, and cut through anything.

And while I'm at it, this is the other end of the dining room - with lots of my craft books, sewing machine, and yes, dining room drawers, filled with fabric.

No comments:
Post a Comment