Friday 30 January 2015

Elizabeth Craft Designs/Karen Burniston's new Accordion Star Birthday Card

I had some more happy mail this week from Elizabeth Craft Designs (I'm kind of lucky that way!!), including the new Accordion Star Card die set, and the matching Star Buddies Peel-off Stickers.
I instantly thought about making a birthday card for one of my little nieces.

In the Accordion Star set, there is a great die which cuts and scores the piece needed for making this 3D star. I folded it along the score lines, and used another little die in the set to cut the contrasting blue glitter pieces, which I glued on.
I used dies from the Fancy Frame Edges set to cut the patterned paper border for all the panels.

For the monkey panel, I stuck some double-sided adhesive to white card stock, and stuck the peel-off to the other side of the adhesive. I covered the peel-off side with Microfine Glitter and rubbed it in with my finger. The glitter is then smooth enough to colour with Copic pens. I then cut round the peel-off with fine scissors.

For the last panel I stuck some black glitter card to ECD double-sided tape, and die cut it with a Paper Smooches Happy Birthday die, to create letter stickers. The letters all stayed stuck in the die, so I placed the die onto the pink star, and poked the letters straight down onto it with a piercing tool, so the letters all stuck down, lined up perfectly.
I then used ECD's super new Alphabet 1 - Caps die set for 'Heidi'.
Finally, I added 2 pairs of stars, glued either side of two ends of wire, and glued them to the back of the last panel.
All the patterned papers are from the gorgeous My Mind's Eye Cambridge Court 6x6 pad.

Some of the products used:


Lined Pencil Case #2

My sewing machine has been at the repairers since last October (a spare part was out of stock), and I finally got it back last week! I promised my daughter I'd make her a pencil case, so here it is. She  liked the one I made for myself a couple of years back, so I made hers in a similar fabric. (They are from the Ruby Star Shining line by Melody Miller.)

I used the tutorial which I wrote back when I made my own pencil case. I'd forgotten what to do, and I'm glad to report I could follow my tutorial with ease! 

It is lined with one of my favourite ever fabrics, from Amy Butler.

Our pencil cases together!


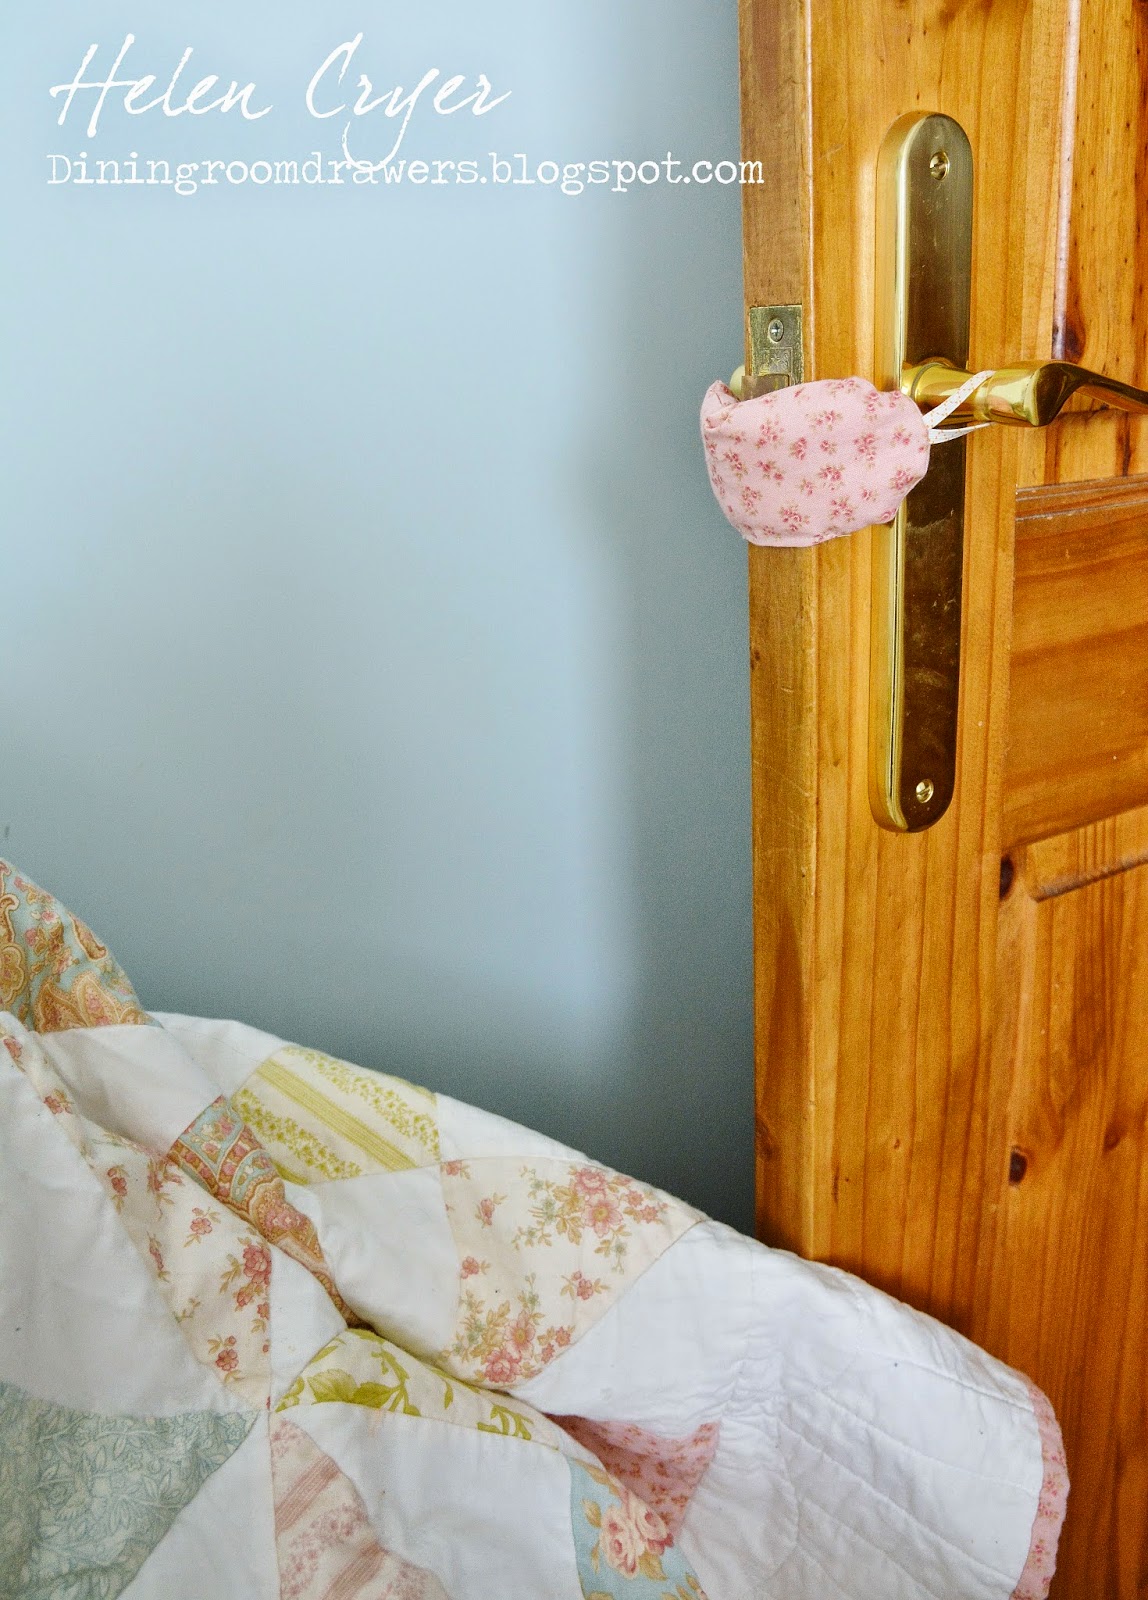
Something else I also made yesterday was this little door-stop thing, with elastic loops to fit round the door handles. Our bedroom door keeps gently banging the door frame when there's a breeze, and so my husband leaves a sock on the floor in the gap. I decided this would be a slightly prettier alternative!

It matches my quilt!


Thursday 29 January 2015

Happy Birthday Dad Pop It Ups Card

Yesterday I worked on this card for my Dad's birthday. It's not till 1st March, but I have so many family and friends' birthdays in March I need to start now.

I used the Happy Birthday PopUp card die for the pop-up mechanism and Happy Birthday words and stars, and Karen Burniston's older Sizzix Pop n' Cuts A2 card base die for the card itself.

I added some 'Boys Rule' Chipboard stickers from Crate Paper for the vintage cars, layered on top of a couple of different sized tags from the Tags Pivot Card die set.
I absolutely love using Elizabeth Craft Designs' wide Double Sided Tape, for making more intricate die cuts into stickers, by adding the tape to the back of the card stock before die cutting. I did that for the Happy Birthday die cuts, stars, and the 'DAD' letters.

The DAD letters were cut with another of Elizabeth Craft Designs' new die sets - the Alphabet 1 - Caps set, which is the perfect sized alphabet for so many things, including this little platform on the Happy Birthday PopUp.

A simple card front, with space for a message.

Some of the products used:


Monday 26 January 2015

Karen Burniston's Pop It Ups New Release for Elizabeth Craft Designs - Eiffel Tower Rectangle Pull Card


The base for the card uses the new Rectangle Pull Card die to create the flip out part, plus the rectangular layer, and little blue postage stamp frame.
To make the floral patterned paper layer, I die cut the Rectangle Pull card into the patterned paper, then just trimmed it down round the edges, and used the parts I wanted for the card front and inside the card.

I used the Eiffel tower from the new Eiffel Tower Pop Stand set, which I decorated with Glitter Dots from Elizabeth Craft Designs, and stuck on with little foam pads. I also added a Hello die cut, using the new Accordion Rectangle set.
The smaller flowers are from Elizabeth Craft Design's Bunch of Flowers 1 set.

For the inside of the card, I used two of the spinner pieces (which you cut with a die, included in the Rectangle Pull Card die set), and added flowers cut with the Flower Set 3 die set, plus a paper clip from the Tags Pivot Card die set.
When you open the card the two largest flowers swing into the centre of the card. (If you'd like to see how the spinner piece is used, Karen shows you in this video of hers here, starting at 6:40)
It really is a lovely addition to the opening up of the card!

Some of the products used:


Saturday 24 January 2015

Handwritten Love Die and Shadow Cards

Stephanie Barnard just recently released some new dies at The Stamps of Life, including this Handwritten Love Die & Shadow set. It's a really lovely size! I love how it stretches across a whole card, plus the font is great too.

Here it is on a Triple Circle Flip-its card, with some hearts from the hearts2cut stamp and die set.
The patterened papers on all my cards today are from The Stamps of Life.

And again, with hearts from the same set as above, on the Playful Stand-up.

For this card, I used the clouds die from the Hot Air Balloon Club die set, to cut out a mask from low-tack masking paper, then airbrushed over it a few times in different positions, with Copic marker. I added some more clouds and a sun from the same set.

Some of the products used:


Tuesday 20 January 2015

Eiffel Tower Floral Pivot Card

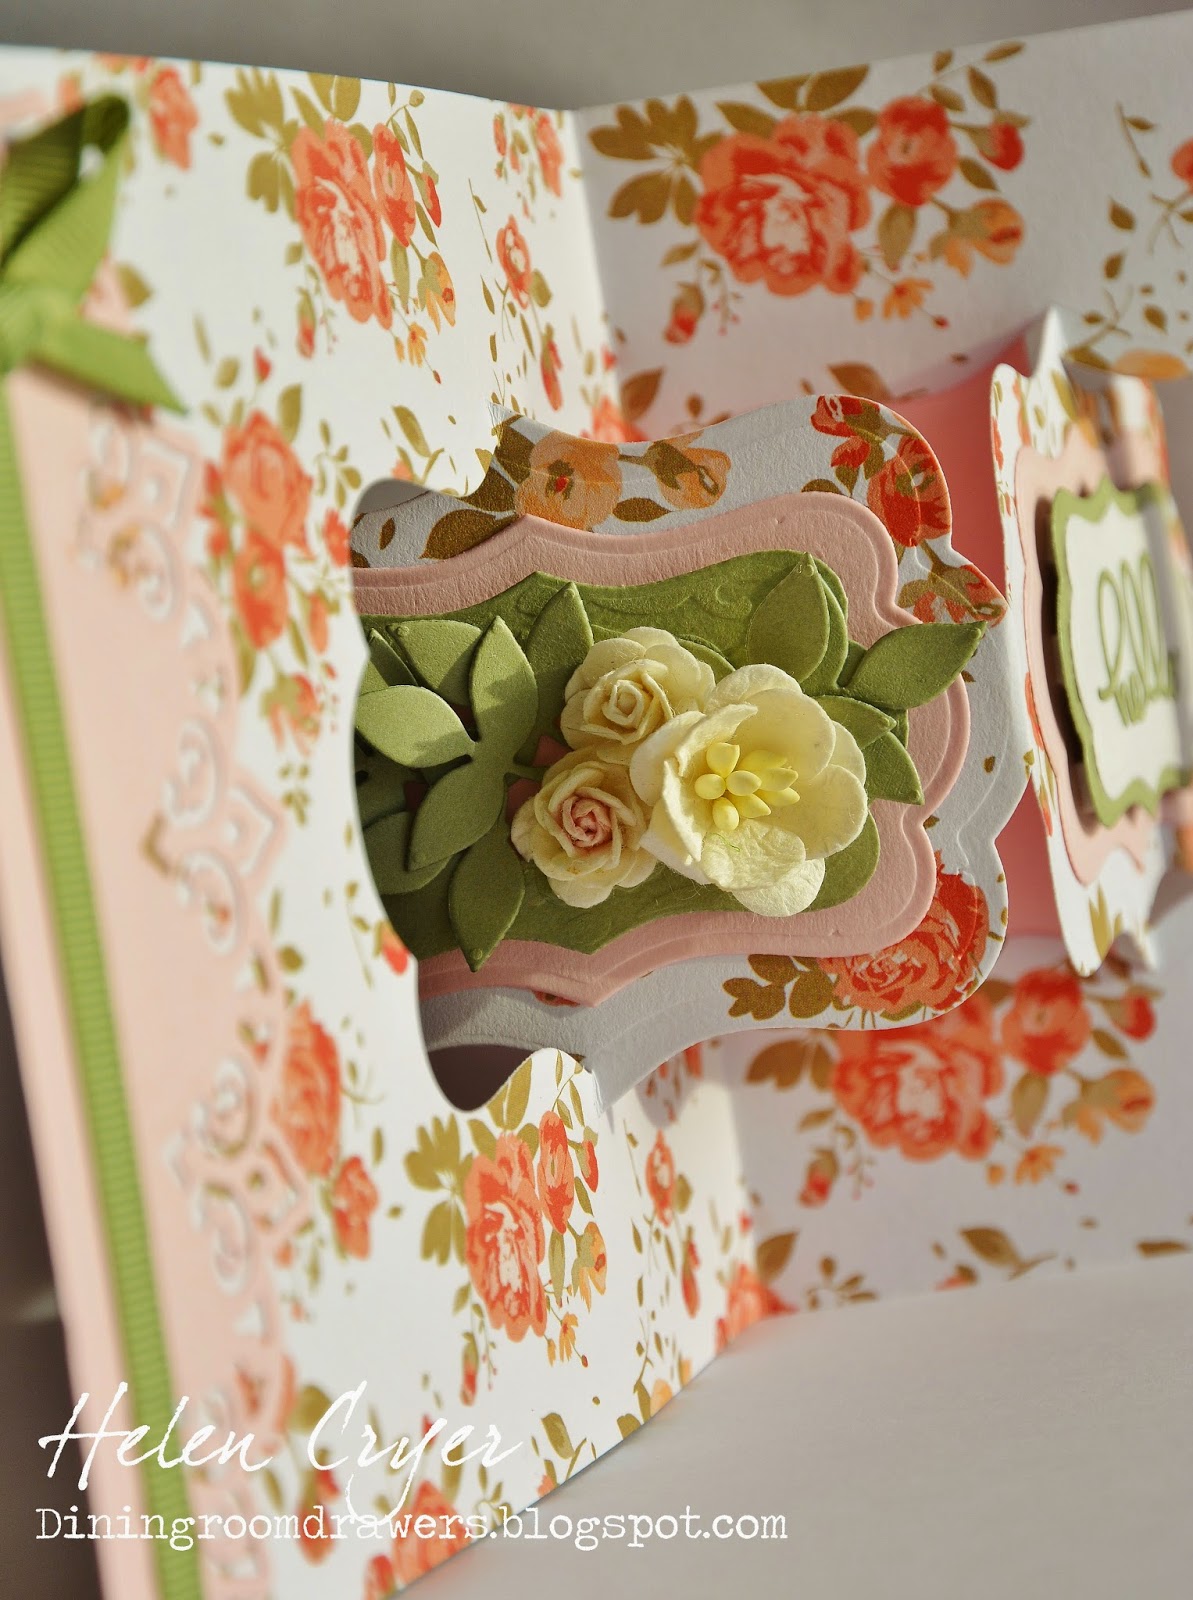
Here's a second card I made for Karen Burniston's monthly Designer Challenge, which is to use dies from three categories of Pop It Ups. I used a Pivot Card, dies from the Eiffel Tower Pop Stand set, and an Edge die from the Paris Edges set.

I used the Katie Label Pivot Card, and some of the layer dies from the set on the pivoting parts. One side I decorated with paper flowers, and leaves from Elizabeth Craft Designs' Triple leaf die set.

On the other pivoting part, I used a Hello die from the Accordion Rectangle die set.
I used the Eiffel Tower die from the Eiffel Tower Pop Stand set, and added the little platform sections on foam pads. The die also adds the pretty embossed patterns.
Karen Burniston and the Designer Challenge Team will be on the Elizabeth Craft Designs Blog tomorrow, with lots more ideas for using the wonderful range of Pop It Ups dies.

Some of the products used:


Karen Burniston's January Designer Challenge - Pivot & Accordion Mixed Card

Karen Burniston's idea for the Designer Challenge Team this month is to use Pop It Up dies from three categories on one project. For my card, I chose to use a pivot die (the brand new Tags Pivot die), an Accordion die (the new Accordion Rectangle), and a couple of Karen's cute new Character dies - Whisker the Cat and Buster the Dog.

I made the Pivot part of the die as usual, cutting the Tags Pivot into a piece of card stock the same height as the Accordion Rectangle panels. I then just added an Accordion panel to each, leaving the inner part of the panels free-floating.

I used the Katie Stars Frame Edges, to cut out card stock with Elizabeth Craft Designs Double-sided tape on the back (makes it so much easier to stick down intricate die cuts!)
I also used some chipboard stickers.

The clouds are from the All Seasons Tree die set, and the grass die is from the Outdoor Edges set.
The Happy Birthday is from the Happy Birthday PopUp card.

Some of the products used:


Saturday 17 January 2015

Stampin' Up Party!

I held a Stampin' Up party yesterday, and we had a really good time... It's been busy for me lately, with not much time for crafting, so it was nice to spend a day or so playing with some of the new Stampin' Up products, and doing a bit of baking. (We ended up with masses of food... the kids were impressed with the left-overs this morning!) I tried to keep everything roughly to the same colour theme.

Here're some of the things I made... a lot of them are just variations of ideas from the Stampin' Up catalogue, so not very original I'm afraid.

This one I did come up with though, using one of Karen Burniston's new dies just released at CHA for Elizabeth Craft Designs - the Accordion Rectangle. I love the big surface area it gives you to work with.
I used it with the free Stampin' Up 'Best Year Ever' Sale-a-bration papers, the Bow Builder Punch, and the Balloon Bash stamp set.

We made these little cards as 'lunch box notes'. I think I bought this Cheerful Critters stamp set purely because of the 'I like your face!' stamp! I knew it would appeal to my 9 year old!
I made the envelopes with the Punch Board.

We did this card as another make-and-take. I lightly airbrushed Copic marker round the edges.

I love the Gift Box Punch Board! Had fun making these boxes up. My Mum visited, and she's not particularly crafty, but even she was absolutely taken with it!
I used Stampin' Up punches for the flower layers.

I used the 'Celebrate Today' stamp and die set to make these cake toppers.

Here I used My Favorite Things Stitched Rectangles, with the Bow Builder Punch. I used Elizabeth Craft Designs narrow double-sided sticky tape for assembling the bows.

For decorating the notebook, I used the SU stripes stencil, and sponged on white ink, then added flowers from the Flower Patch stamps and die set.

Some of the products used:


Thursday 15 January 2015

The Playful Collection by Stephanie Barnard for Sizzix - Flip-its & Stand-Ups Cards

Stephanie Barnard has just released some of her Sizzix products at The Stamps of Life, and they are called the 'Playful' range. I think this has got to be one of my favourite Stand-ups shapes so far! Just a really nice, elegant design. As well as the Stand-Up die set, there is also a matching Framelits set, which comes with stamps too, plus a Triple Flip-its die set.
I used all of them in these cards below.

This first card uses one of Stephanie's embossing folders (there are links to all the products at the very bottom of the post), which I rubbed over with turquoise guilding wax. (The bird is a new die set from Stephanie just introduced at the recent CHA show - it's a lovely set - keep an eye out for it!)

Using the Sizzix Triplets Tree die set, and stamp from the Sizzix Framelits & Stamps -Tag set.

With the Sizzix Triplits Ornament die set. (I love the snowflakes and extra little shapes in this set!)

Using some of the stamps from the Playful Framelits & Stamps set.

With the Sizzix Triplits Gfts die set.

This card uses stamps from the Playful Framelits & Stamps set, and the border from the Stand-Ups die set.

And here are a couple of cards using the Triple Playful Flip-its die set. The mini flower, butterfly and bees are all from the Sizzix Framelits & Stamps Windows set - the perfect size!

Some of the products used: